GlobeViewer Moon Manual
Main menu
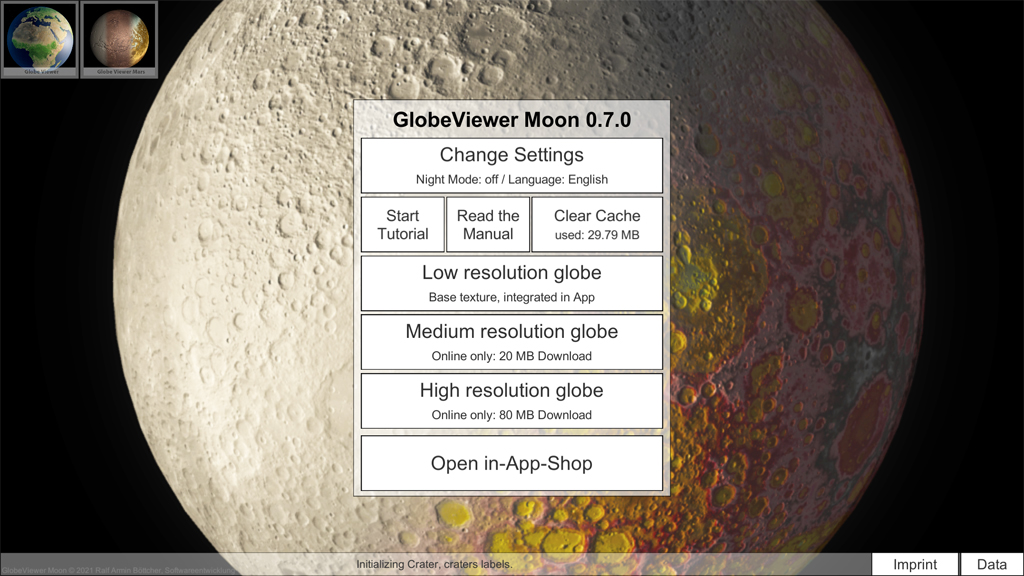
Settings: night mode
The night mode darkens the entire view in such a way that you are not so much dazzled by the app even in dark surroundings and thus interfere with the dark adaptation too much. The red light mode, which is common in astronomy software, was deliberately omitted, as there is a correspondingly large amount of white light from the moon itself when observing the moon.
Settings: Language selection
Here you can change the language of the app. All user interfaces have been translated. The database contents (names and mission details) are still only available in English.
Tutorial
The tutorial guides the user through all available areas of the app.
Clear download cache
The app downloads a lot of textures from our server to your device. These are cached on the device for later reuse or for offline use. If the data is not needed offline, the download cache can be released manually. All data can be reloaded again and again from the server.
Resolution selection
After installation, the app only contains a very low-resolution moon texture for the global view. All higher-resolution global textures must first be downloaded from the server. The higher the selected resolution, the more frequently advertising is displayed in the app - unless the user has already permanently deactivated advertising with a purchased product.
Shop
You can activate three app levels in the shop. Stage 1 (NoAds) completely removes the advertising from the app. Level 2 (front) unlocks the high-resolution 3D view of the front of the moon. Level 3 (Pro) unlocks the high-resolution 3D view of the entire moon surface. You can also upgrade from any level to the higher levels later.
Imprint
Here you will find the legally required contact information about the app developer. You can also go to our project website there and leave comments on the app that will help us to further develop it. You can also find the link to our privacy policy here.
Data
All data sources that were used for the app are listed here.
Global moon view
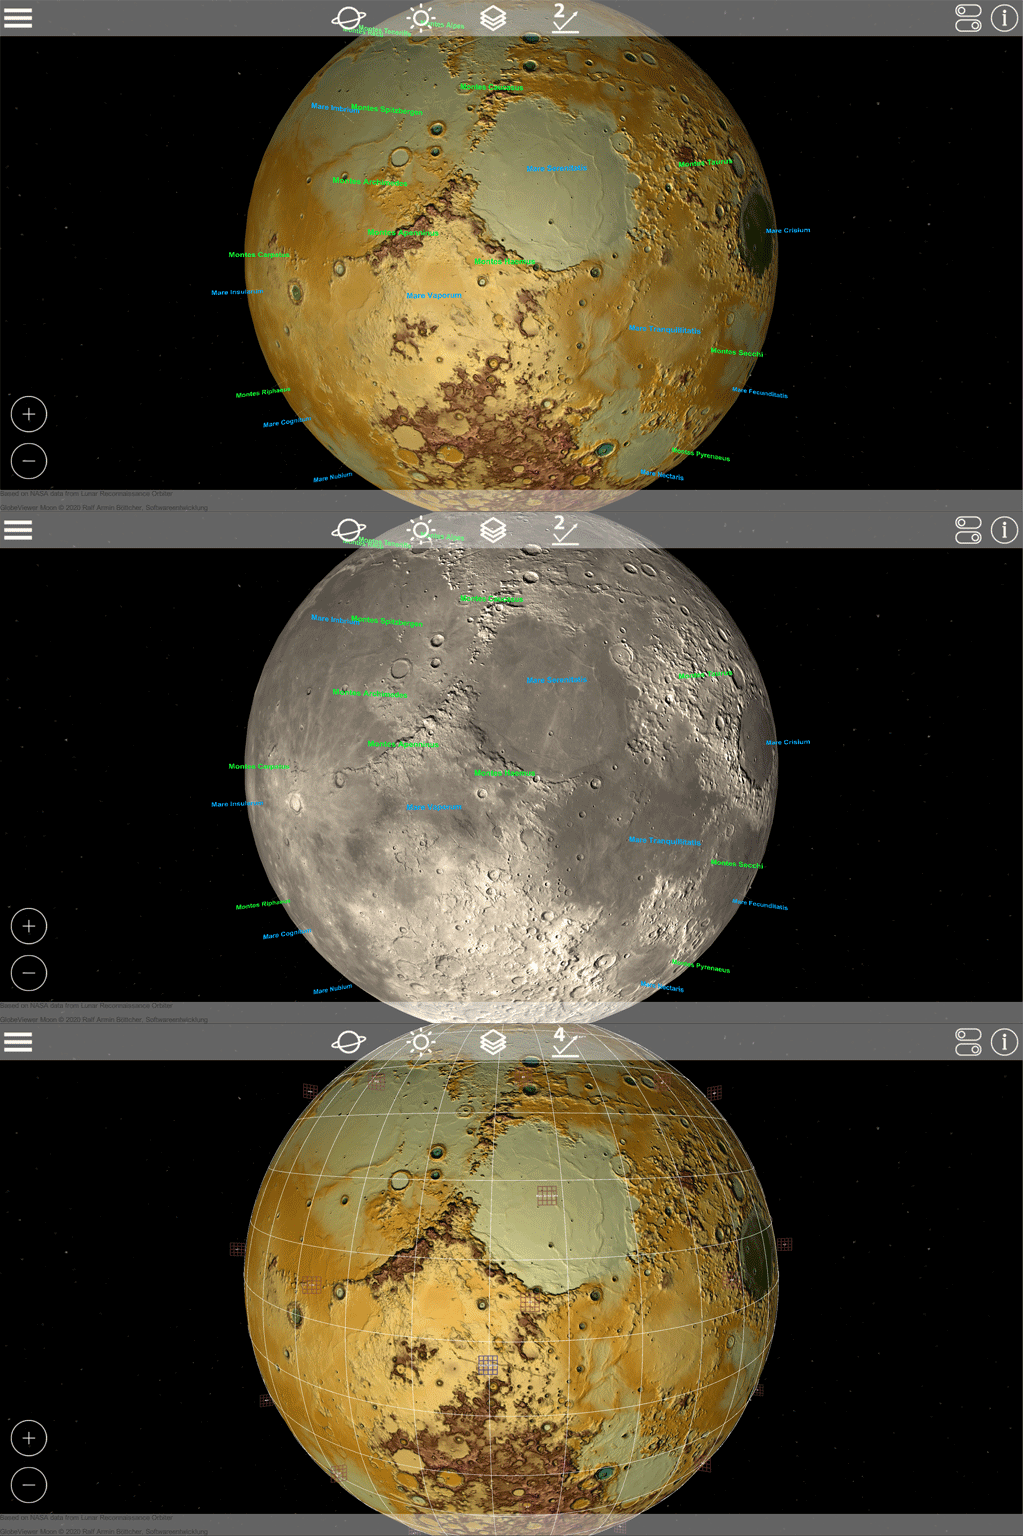
The interactive 3D moon map can be adapted to the various requirements of different users. The rotation view, which is active after starting the app, is intended for users who want general information about the moon and its surface. Here, in favor of optimal illumination of the surface, realistic moon lighting is deliberately avoided.
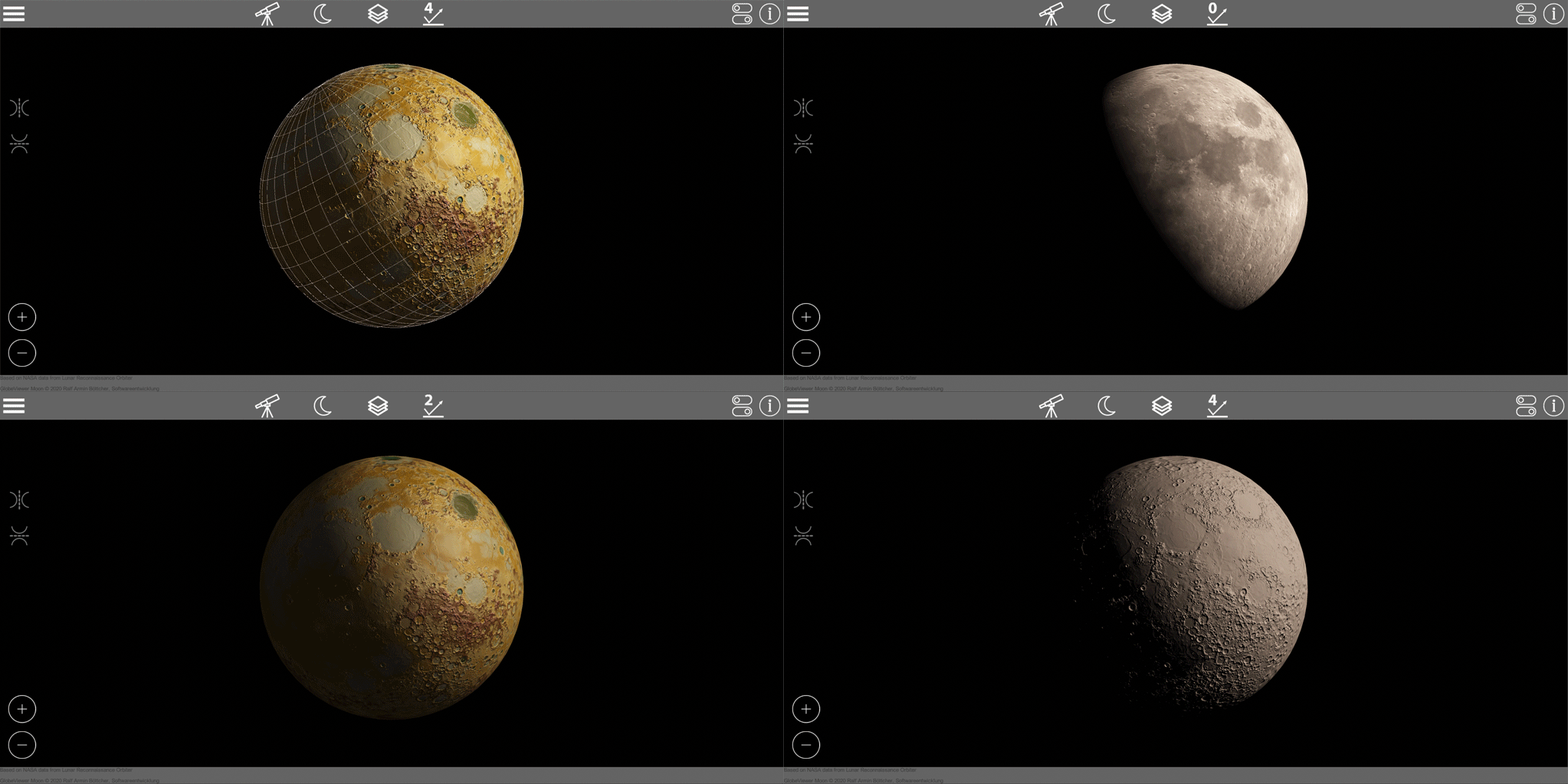
The telescope view has been integrated for professional use by (hobby) astronomers, which correctly calculates and displays the actual lighting as well as the current moon position / phase. The Photo and Gray views are particularly suitable for this mode and try to achieve a realistic representation as much as possible.
View mode
Switch to rotation mode to orbit the moon like a satellite and view it from all sides. Use the telescope mode when you want to simulate the view of the moon from the earth.
Lighting
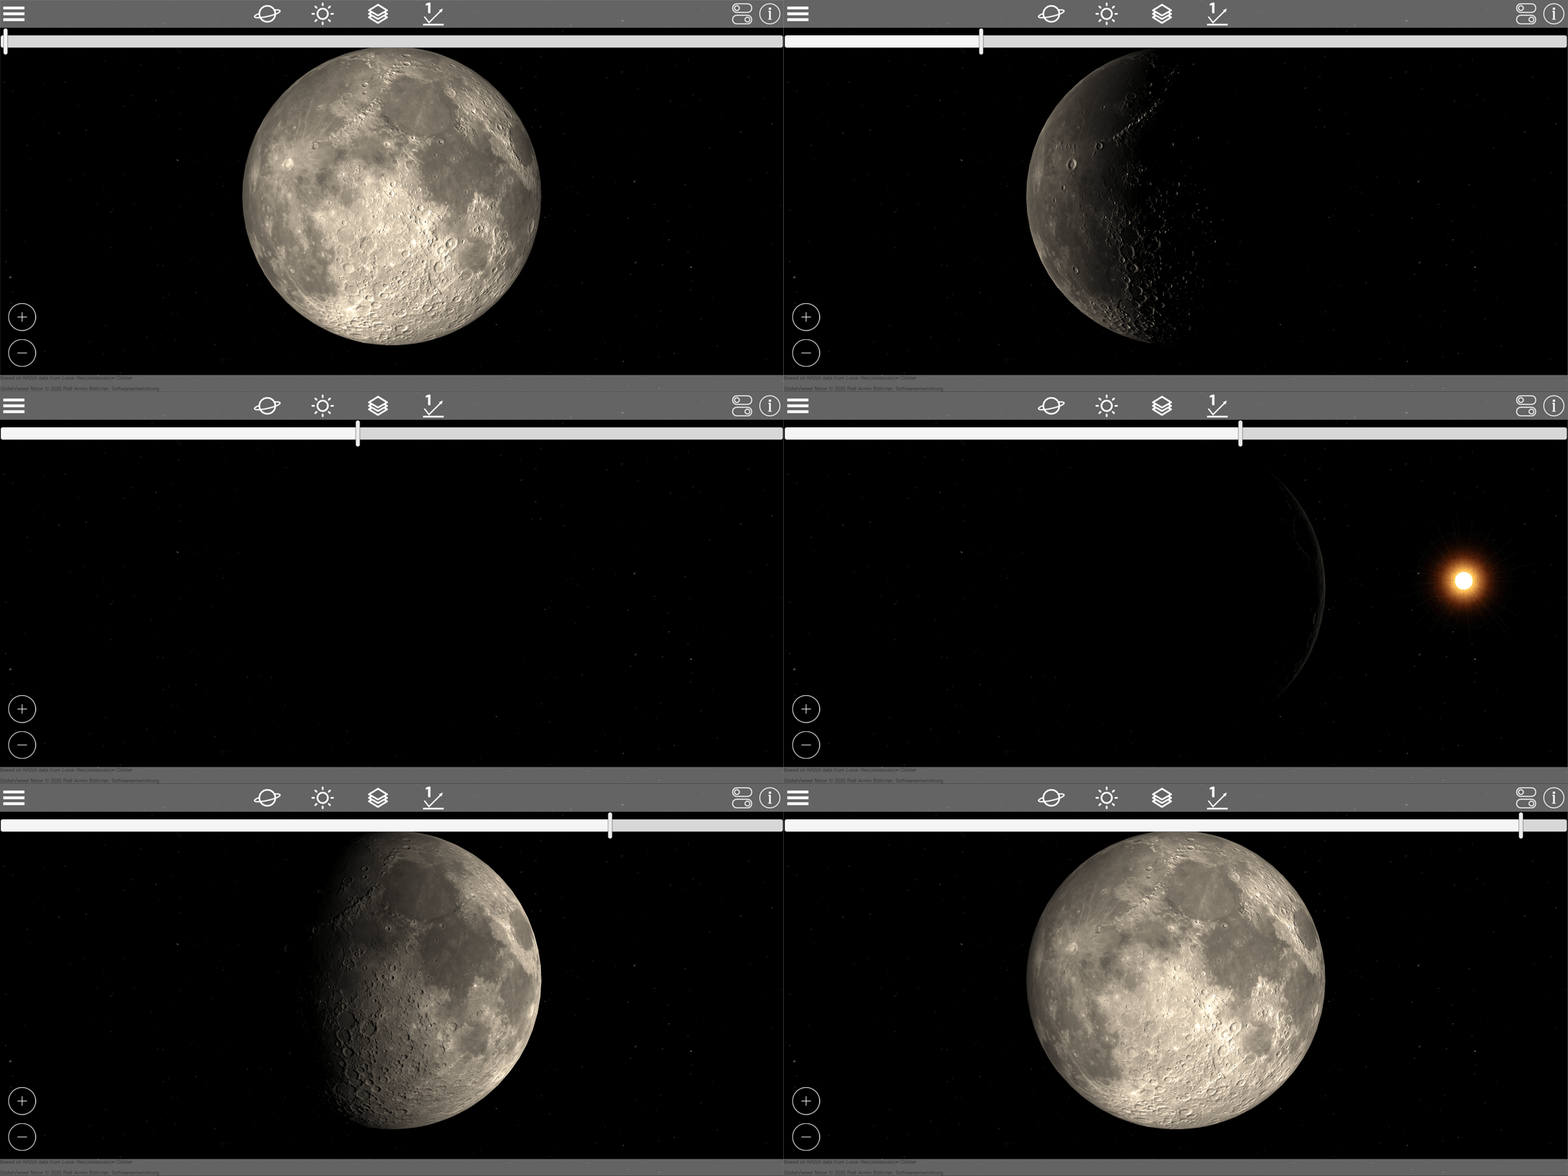
In rotation mode you can use the slider to rotate the direction of light around the moon. In this way, you can optimally illuminate all areas that you want to take a closer look at.
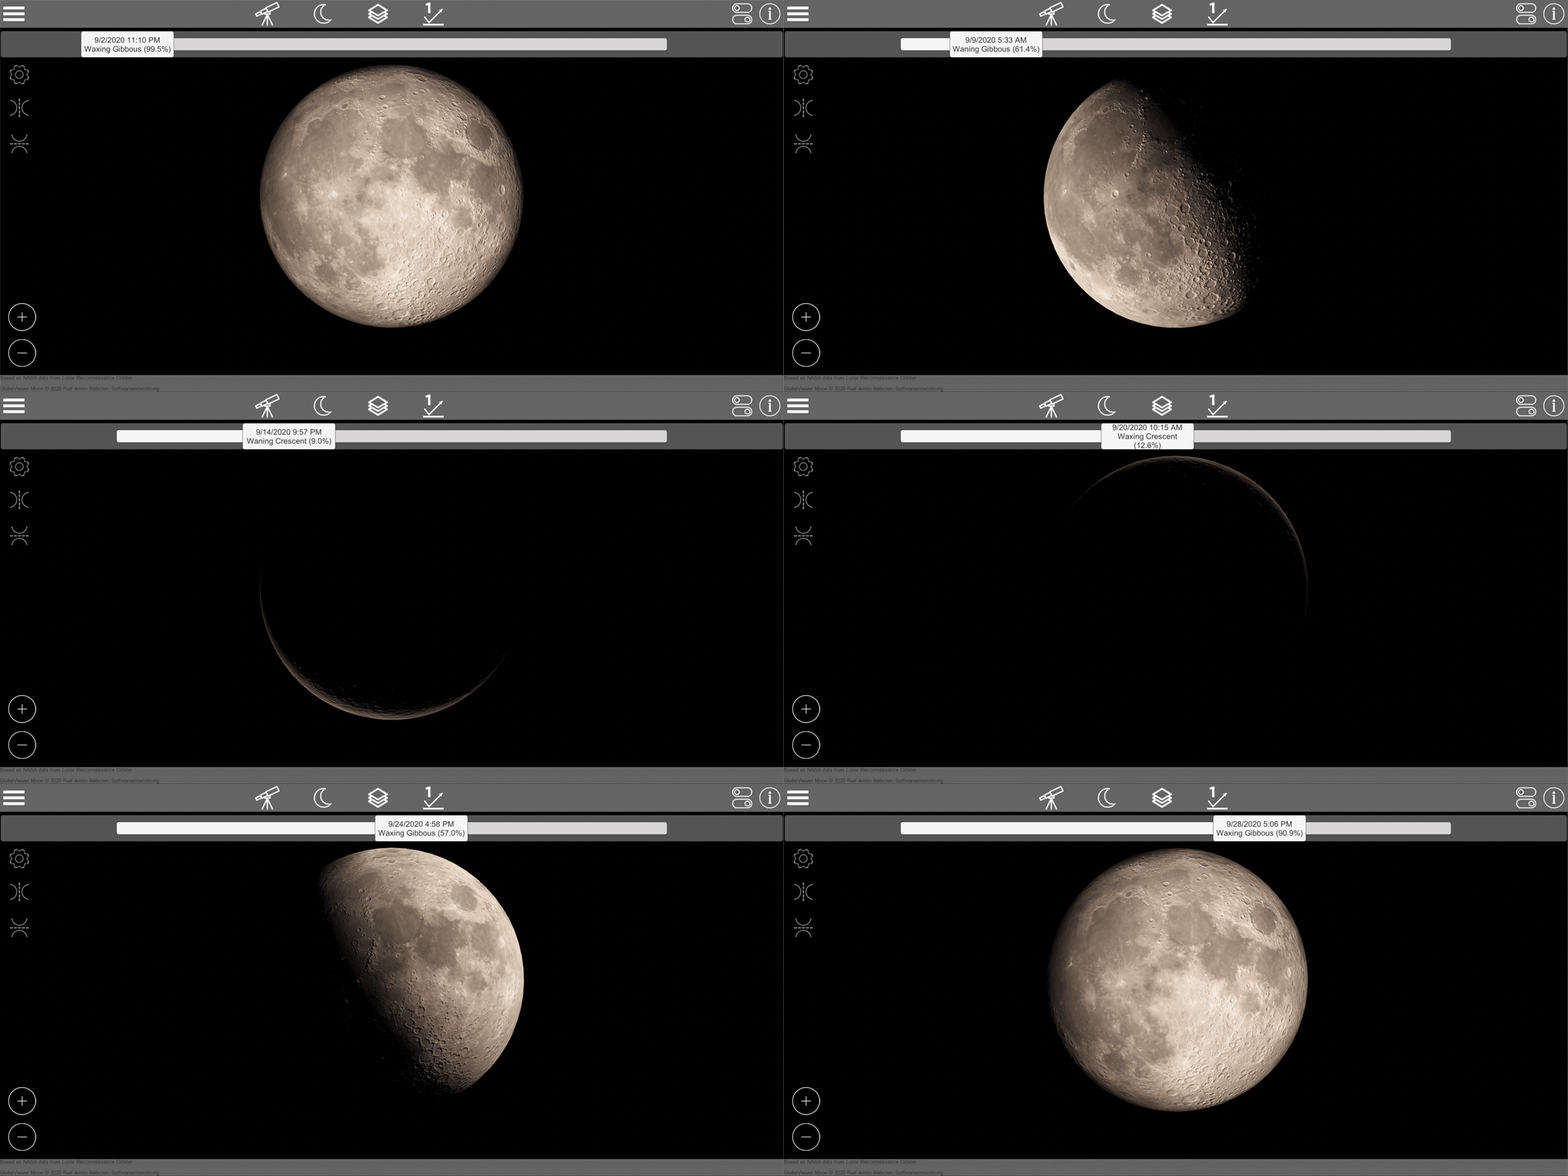
If you use the telescope mode, you can use the slider to move the current moon phase i.e. the viewing time back and forth in order to take a closer look at the visible moon areas. For correct surface shading, please use the texture gray in conjunction with a surface detail level.
Texture selection
The following texture layers are available:
- Photo: simulated global photo including fixed shadow
- Height texture: global height gradient without shadows
- Overlay: combination of photo and height texture
- Gray: No color to simulate the current surface shade
Surface details
For the high-quality shading of the surface, a normal texture was calculated from the height data. This texture changes the surface lighting so that shades of the surface details can be shown. In this way, the surface details can either be switched off completely or gradually added to the basic texture. There are four different levels to choose from. The stronger the details, the clearer the smaller differences in altitude on the moon come into play. Just try it out to see which level best suits your current view.
Display options
Various objects are marked on the globe. In the display options you can decide which of these objects should be displayed. Here you can e.g. turn off all crater names or only show the "seas" or "mountains". The display of the longitude and latitude as well as the loading symbols for the 3D surfaces can be hidden and shown here according to your requirements.
Feature information
A display provides more detailed information on the objects present on the globe. The information on the object that is closest to the camera is always displayed - depending on the center of the screen. You only have to place the desired object in the middle of the screen to display the additional information.
Feature Search
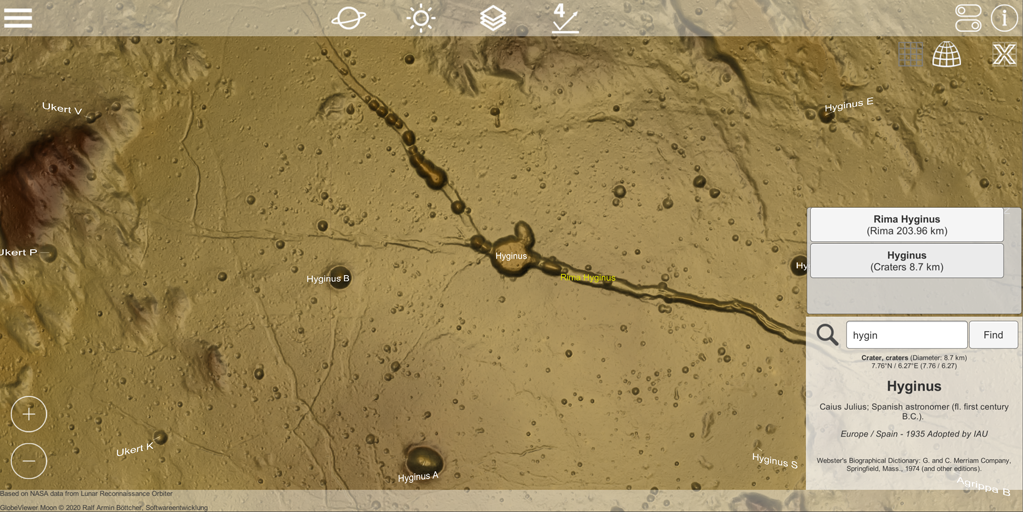
As an alternative to only displaying feature information via the center of the screen, you can also search for objects on the moon. To do this, open the feature information and enter a few letters in the search field. With the search, you will then receive a list of all objects that match the search term. You do not have to give an exact name, parts of words are also sufficient for the search. You can then simply select the search results found in the results list, and the camera will immediately center the searched object.
Control
Use one finger to rotate the camera around the moon in rotation mode. In telescope mode, you move the direction of the virtual telescope. In telescope mode, the image can be mirrored vertically and horizontally with the corresponding symbols to show the view through the eyepiece of a telescope.
With the usual two-finger gesture, you can bring the camera closer to the surface and thus zoom in or out. Alternatively, two symbols are available for this.
Mission list (from 0.6.0)
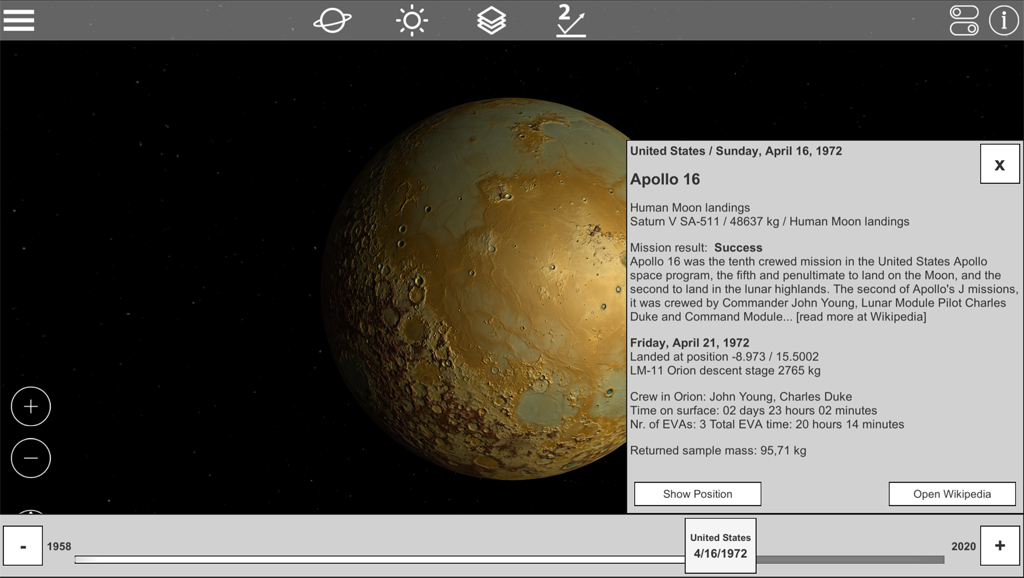
You can open the mission list using the symbol at the bottom left. It includes all previous moon missions since 1958. All missions that have a landing site can be centered on the globe. More information about the missions can be found on Wikipedia.
3D surface models (regional)
In addition to the global view, the entire moon is also available as a high-quality 3D surface model. In order to make the associated large amounts of data available on mobile devices, the lunar surface was divided into various regional sectors. These sectors have been distributed as markers (raster symbols) on the global lunar surface. These markers can be used to load the corresponding region into the global moon model. For technical reasons, these markers are only displayed after all other markers have been placed on the globe. Depending on the computing power of your device, this may take a few seconds.
Orthorectified view
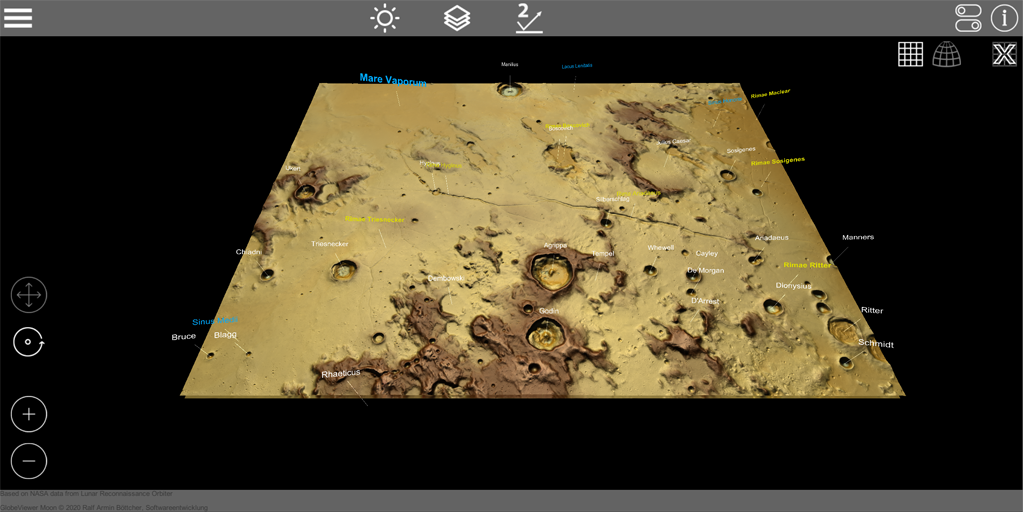
If you have selected a region, the scene with the individual 2D data tiles is loaded first. Each individual data tile is 5° x 5° in size. Due to the spherical shape, the tiles in this orthorectified view distort the actual dimensions on the spherical surface. Therefore, the closer you get to the poles the tiles appear to be drawn wider and wider, at the same time the tile is shown compressed in length.
Each individual 2D data tile automatically loads the associated 3D model and displays it immediately after the download. There are approx. 2-3 MB download per tile, so depending on your transfer rate, it can take a few seconds for all tiles to have downloaded the associated 3D model. Only the 3D tiles are loaded directly around the camera target point and those further away are removed again.
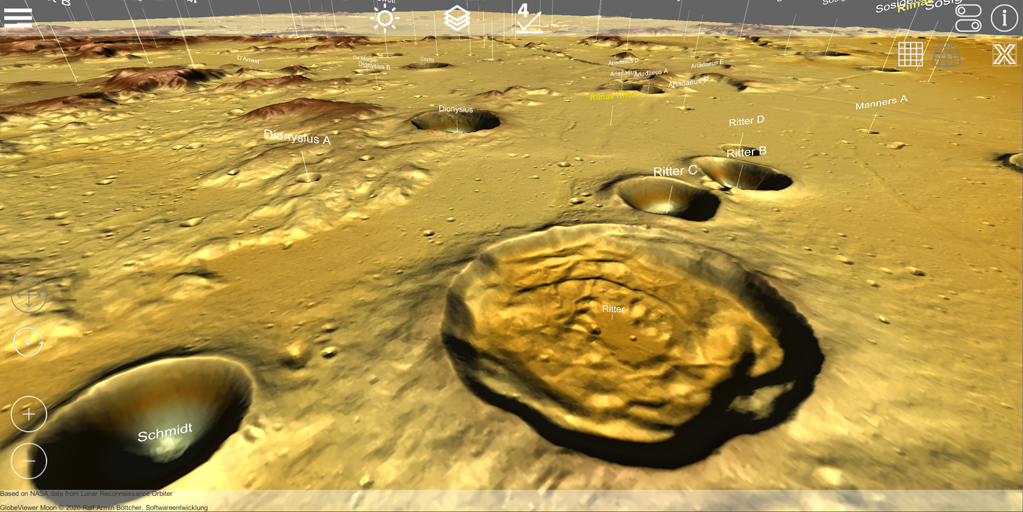
In this orthorectified view (which is not a realistic representation anyway) you can rotate the light 360° around these tiles. This form of lighting is not realistic either, but it can be used to completely illuminate an existing crater from all directions in order to make the existing height structures more visible.
Corrected 3D view of the globe
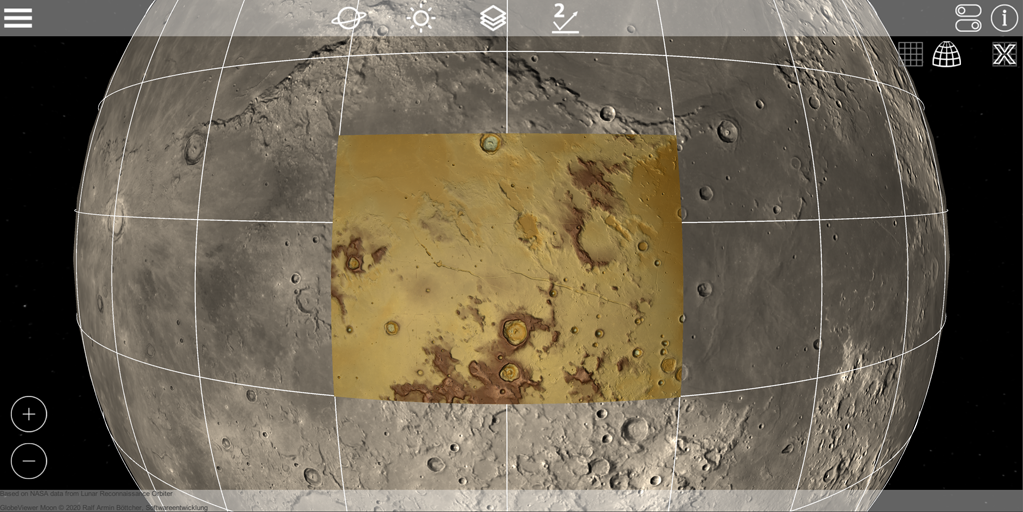
After downloading the tiles, you can switch back to the global moon view via the symbols on the top right. At this moment, all the 3D tiles that have just been downloaded are rectified and placed on the spherical surface of the global moon. The 3D surface is then shown in the correct representation. The 3D model lies on top of the simple spherical model with the global texture, which can result in smaller gaps in the display.
In the global view, the lighting rules for the globe apply again, depending on the camera mode (rotation or telescope). All texture options for the global view can also be applied to the tiles of the 3D model.
In addition to the main features, the secondary features (i.e. the smaller craters) are also entered and named on the regional maps. Due to the amount of data required, only one region can be loaded at a time. You can therefore unload the loaded region again using the corresponding symbol and then reload another region.
Control
In the orthorectified view, you can freely rotate the camera around the current observation point with one finger. With the two-finger gesture you can zoom in and out of the observation point. The camera and the observation point are moved over the terrain with three fingers, i.e. the camera view is completely shifted. Alternatively, it is also possible to move with one finger; to do this, the camera mode must be changed from rotation to move with the corresponding symbols on the lower left edge of the screen.

